How to Make a Vision Board: A Step-by-Step Plan
Published 2026-10-16
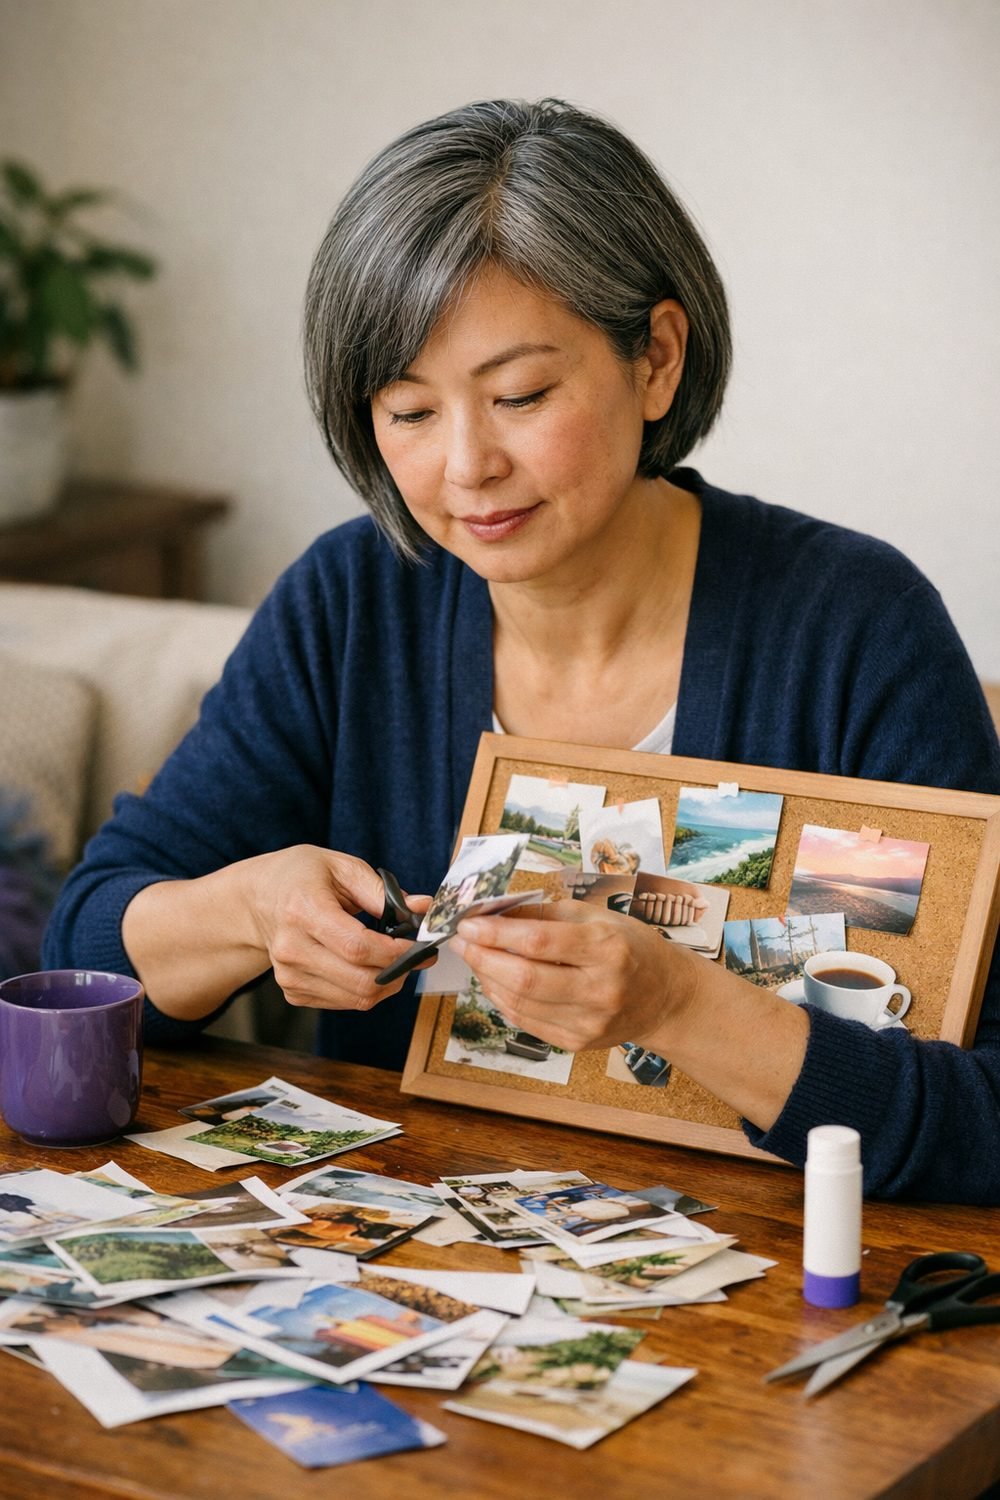
A vision board is a reflection tool, not a promise, and learning how to make a vision board is easier than most people think. It won't make things happen on its own, and I'd be wary of anyone who says it will. What it can do is help you notice what you want more of in your life and keep that in sight on the busy days when you'd normally forget.
A first board can be made on a quiet Sunday with a stack of old magazines and a glue stick. It was messy. Half of it ended up being pictures I didn't really care about. But the few images that did mean something stayed on my wall for over a year, and I looked at them more than I expected to.
This guide walks you through the way I make a vision board now, step by step, with simple prompts to get you started. It takes an afternoon, costs very little, and you don't need to be crafty.
Short on time? Our top picks: Elmer's Glue Sticks, Scotch Removable Tape, Fiskars Scissors and Sharpie Markers. See all picks
What you need to make a vision board
- A board or large sheet: poster board, cardboard from a box, a cork board, or even a big piece of paper
- Scissors (a pair from a craft brand like Fiskars works well)
- A glue stick, tape, or pins (pins are great if you want to swap things later)
- Old magazines, catalogs, printed photos, postcards, or pictures you've printed at home
- A pen and a notebook for the first step
- Markers or pens for adding words
- An hour or two of quiet time
That's it. You don't need fancy supplies. Any sturdy surface works as a base, even the lid of a pizza box, cleaned off and covered in paper.
Step 1: Reflect first with vision board prompts
This is the step most people skip, and it's the one that matters most. Before you cut or paste anything, sit down with your notebook and write about the different areas of your life.
Here are some options that work well:
- Home
- Health
- Work
- Learning
- Relationships
- Fun
- Rest
For each one, use this simple vision board prompt: what do I want more of here? Not "what should I want," but what you actually want. Write fast and don't edit. If an area feels fine as it is, skip it.
When I did this last time, I was surprised that "rest" filled half a page while "work" got two lines. That told me a lot about where my head was.
Tip: Try to describe feelings, not just things. "A calm morning with coffee by the window" is more useful than "a nicer kitchen." The feeling is what you'll be looking for when you pick images.
Step 2: Gather images and words
Now the fun part. Flip through magazines, catalogs, printed photos, or your own pictures. Cut out anything that catches your eye and matches what you wrote in Step 1.
Here's the big rule: pick the ones that feel right, not the ones that look impressive. A glossy picture of a mansion might look nice, but if your notebook says you want a cozy, tidy space, a photo of a simple reading nook will mean far more to you.
Words count too. Cut out single words or short phrases that stand out. "Slow down." "Outside." "Together." You can also write your own later.
Your own photos are often the best choice. A picture of a hiking trail you loved, a friend you want to see more, your dog asleep in the sun. These are real, and that makes them stick.
Tip: Gather more than you need. Aim for about twice as many pieces as you think will fit. You'll throw some out in the next step, and that's the point.
Step 3: Plan the layout with a simple vision board planner
Think of this step as your own vision board planner: clear a table or a spot on the floor. Lay your board down and spread out everything you cut. Before you glue a single thing, move the pieces around.
Some people group by life area: health in one corner, relationships in another. Others put one main image in the middle and build around it. You can start with whatever image makes you stop and smile, and put that near the center.
As you arrange, you'll notice some pieces just don't belong. Maybe they looked good in the magazine but feel flat now. Take them off. Be honest. A board with ten pieces you love beats one with forty you feel "meh" about.
Leave some space, too. A crowded board is hard to look at, and empty spots give you room to add things as your life changes.
Tip: Snap a quick photo of the layout with your phone before you glue. If pieces get bumped, you can put them back where they were. Let the glue dry fully before moving the board, since pets and curious hands can easily disturb it.
Step 4: Put it together
Once you like the layout, start gluing. Work from the back layer to the front if anything overlaps. Press each piece down firmly, especially the corners, since those are the parts that peel up over time.
Then add a few words in your own handwriting if you like. A short phrase near an image can remind you why you picked it. You can also add a date, like the season or year you made the board. It's nice to look back on later.
Keep it simple. You don't need a big slogan across the top. A common mistake is making it look like a motivational poster in a dentist's office, which probably isn't the vibe you're going for.
By the way, if you'd like a small daily habit to go with your board, you can grab our Free 7-Day Gratitude Journal Pages when you join the email list in the box on this page.
Tip: If you think you'll want to change things often, use pins or removable tape instead of glue. A cork board works really well for this.

Step 5: Place it where you will see it
A vision board hidden in a closet doesn't do much. Hang it somewhere you'll pass every day. By your desk, next to your bed, or on the inside of a door you open each morning are all good spots.
Think about privacy, too. Some people like their board out in the living room. Others feel shy about it and want it somewhere more personal. Both are fine. Pick a place where you'll feel comfortable actually looking at it.
A good spot is beside your desk, a little to the side of your screen. You don't need to stare at it, since a few quick glances a day, such as while waiting for something to load, are enough.
Tip: Take a photo of your finished board and set it as your phone's lock screen or wallpaper for a while. It's an easy way to see it when you're away from home.
Step 6: Check in monthly with your vision board planner notes
Pick one day a month, maybe the first Sunday, and spend ten minutes with your board. Grab your notebook and ask yourself three things:
- What did I do this month that connects to something on here?
- What changed, either in my life or in what I want?
- What's one small step I can take next?
Keep the "small step" really small. Not "get fit," but "walk around the block after dinner twice this week." Small steps are the ones you'll actually do.
This check-in is where the board becomes useful instead of just pretty. Without it, it slowly turns into wall decor you stop noticing.
Tip: It's okay to remove images that no longer fit. Wants change. Swapping things out isn't failing. It means you're paying attention.
Troubleshooting
"I can't find any images that feel right."
Magazines can be hit or miss. Try printing your own photos, or search for free images online and print a few at home or at a local print shop. You can also skip pictures and use words, colors, or little sketches. A board made of handwritten phrases on colored paper works just as well.
"My board looks messy."
Honestly, that's normal. Nobody is grading it. If the mess bothers you, try a simple grid layout, or trim all your pieces into squares or rectangles before you arrange them. That small change makes it look much tidier.
"I made it, and now I feel bad looking at it."
This happens more than people admit. If your board feels like a list of things you're failing at, it's probably too full or too far from where you are right now. Take a few pieces off and add some that reflect things you already have and enjoy. A board can celebrate the present, not just the future.
"I stopped noticing it after a few weeks."
Move it. Seriously, just hang it in a new spot. Our eyes stop seeing things that never change. You can also swap in one new image each month during your check-in to keep it fresh.
Tools and supplies worth considering
You can make a board with scraps, but a few well-known tools make the process smoother, whether you like paper or screens. Here are some options to look at.
Elmer's Glue Sticks
A familiar choice for gluing paper cutouts onto a board. It suits anyone doing a classic cut-and-paste board. Check that the stick is labeled as suitable for paper and that the cap closes well so it doesn't dry out.
Scotch Removable Tape
Good if you want to swap images in and out at your monthly check-in. It suits people who change their minds often. Test a small piece on your board surface first so it doesn't lift the paper.
Fiskars Scissors
A trusted craft brand for cutting out magazine pages and photos. It suits anyone who plans to trim a lot of small shapes. Look for a size that feels comfortable in your hand, and check whether you want a left-handed option.
Sharpie Markers
Handy for adding short words or phrases to your board. They suit people who want bold, clear lettering. Check whether the ink might bleed through thin paper before writing on your final layout.
Canva
A design app that works for digital boards and printable layouts. It suits people short on space or who like to rearrange pieces freely. Check which templates and features are free versus paid before you settle in.
A handy place to collect image ideas before you print or cut anything. It suits visual thinkers who want inspiration. Be mindful that endless scrolling can pull you toward images that look impressive instead of ones that feel right.
Lovevery-style alternative: Cork Board by Quartet
Quartet makes cork boards that work well for pinned, changeable boards. It suits anyone who wants to refresh their board often. Check the size and frame style so it fits the wall spot you have in mind.
Check current plans and prices on each brand's own site before you buy or sign up.
FAQ
Do I need a theme for my vision board?
No, but it can help if you feel stuck. Some people make one board for the whole year, and others make a smaller one just for a single area, like health or a big move. Start with whatever feels easiest.
Can I use a printable vision board or a digital one instead, perhaps made in Canva?
Yes. You can arrange images in a simple design app or even a slideshow program, print them out as a printable vision board, or set it as your wallpaper. Paper is a good choice because cutting and gluing slows you down and makes you think, but digital is great if you're short on space.
How often should I make a new one?
There's no rule. Many people make one a year, while others refresh it when life changes a lot. If your board no longer feels like you, that's a good sign it's time for a new one.
Will a vision board help me reach my goals?
No one can honestly promise that, so treat the board as a prompt rather than a guarantee. What it can do is keep your wants in view and give you a reason to stop and reflect each month. The actual steps are still up to you.
Your next step
If you only do one thing today, do Step 1. Grab a notebook, write about what you want more of, and see what comes up. The cutting and gluing can wait until the weekend. And if you'd like a gentle daily habit to pair with your board, join our email list using the box on this page to get the Free 7-Day Gratitude Journal Pages. They're short, simple, and a nice way to notice what's already good while you work toward what's next.
Some links on this site may earn us a commission. Read our disclosure.